Fridrich method (modified) (part 3)
2. Placing of the first layer corners
3. Placing of the second layer edges
4. Preparation of the last layer
3.1. If there are edges without yellow colour in the upper layer
-
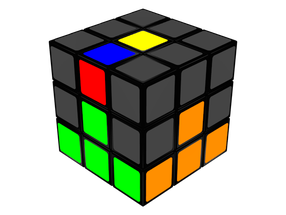
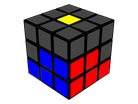
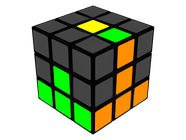
Locate an edge with no yellow sticker (in Figure Aristas 2ª capa, dibujo 1, it is a red and blue edge piece).
-
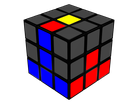
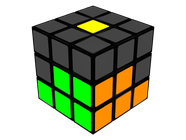
By turning the upper face, take the edge to the face of the colour of the vertical sticker (in the case shown in
Figure 3, to the red face, since the vertical sticker of the edge piece is red).
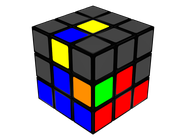
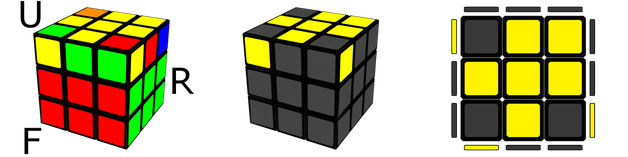
- Find the position of this edge in the solved cube (in Figure 4, it is the edge piece shared by red and blue faces, and it is in close-up. By doing this, we look at the faces the edge will be placed between (in this case, the blue and the red ones).
-
At this point, there are two cases (Table 7):
Table 7: Possibilities when making the cross
The edge is on the right. The first part of the algorithm is applied on the right face and the second part, on the left face (with a previous turn of the whole cube, y')
U'L'UL - y' - URU'R'
The edge is on the left. The first part of the algorithm is applied on the left face and the second part, on the right face
(with a previous turn of the whole cube, y)
URU'R' - y - U'L'UL

3.2 If there is no edges without yellow colour in the upper layer
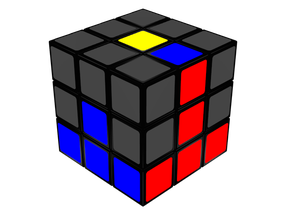
Everything described above let us place correctly an edge of the upper layer without yellow colour, by moving the “wrong” edge to the middle layer. However, We may not find any edge without a yellow sticker in the upper face. That means at least two edges of the middle layer are exchanged. To solve this problem, we can use the previous algorithms twice: The first time to move the wrong edge to the upper layer, and the second time to place it correctly. This is explained in Figure 5.
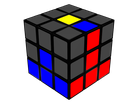
3.3 Edge well positioned but badly oriented
Last, an edge can be well positioned, but badly oriented (Figure 6). In this case, instead or moving the edge piece to the upper layer and then place it correctly, there is a faster option: turn the whole cube until the edge is on the right, and do this algorithm:
R2U2FR2F'U2R'UR'

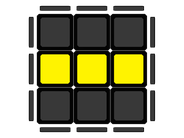
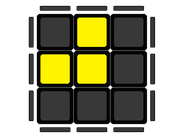
Once the two lower layers of the cube are solved, we still have to solve the layer containing the yellow face. The Fridich method makes us to learn many different cases. Here, we are going to reduce the number of cases, looking for a balance between memorizing and speed (if the number of cases learnt is reduced too much, the movements are usually used several times to find a known situation, and that takes too long).
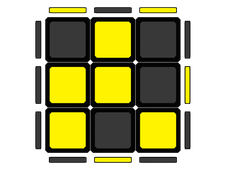
The images that describe this case are shot from above and maintaining only the colour yellow. An example of the process followed to get the images is this:
In this part, we can find three cases:
Table 8: Algorithms to prepare the last layer
Case
Figure
Algorithms
1
FT'ADFB'URU'R'U'R'U'RUF'B
2
FRUR'U'F'
3
FURU'R'F'
What is shown in pictures of Table 8 is the minimum amount of yellow stickers that should be so that the algorithm works. Which means more yellow stickers can be in the upper face, but never less. For instance, in the case of Figure 8, we would use the algorithm 3 of the previous Table.